
How to Build Raised Garden Beds in 3 Steps
Sep 1, Written By Sharon Kleiman
And Examples from Punta Mona Center of Regenerative Design and Botanical Studies
What are raised garden beds and why should someone utilize them?
Relatively easy to construct, raised garden beds are elevated planting containers made to simply make your life (and your knees’ life) easier. Filled with the ideal soil for your plants and a beautiful addition to any space, these are made to provide the ideal conditions for your plants to thrive.
PRODUCTIVITY & CONTROL
These beds allow you to control your soil quality, allows for the plants to have deeper rooting, better drainage and longer growing seasons. The amount of weeding and critters are significantly reduced due to the elevation.
COMFORT
Garden lovers are all too familiar with what we like to call “the garden squat”. But it is definitely not the most comfortable position. Tending to your plants on an elevated surface spares your knees and your back the hassle.
VISUALLY APPEALING
Raised beds are oh so beautiful. Organized plants? Yes. A showstopper in any garden or farm!
Now, let’s get down to business and make them…
Step 1: CHOOSING THE RIGHT SPACE AND SIZE
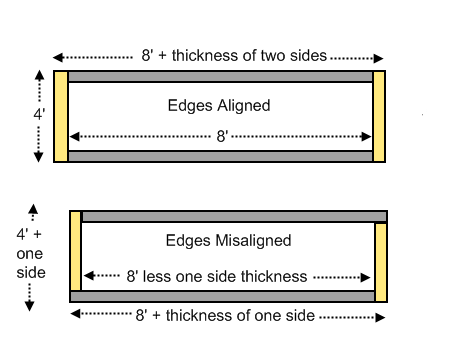
So before we start building them, we have to know where they're going. Ideally, the location should be getting at least six hours of sun. In terms of width, beds are usually best to measure around 4 feet, as you want the middle of the bed to be accessible. Length is really up to the creative! Common measurements of beds are 4x8 feet or 4x12 feet, but you can have a many beds for multiple crops, or even a super long one (think red carpet of garden beds). Depth should not be less than 6-12 inches at the minimum, as this is how much most garden plants roots need to grow. The site’s soil should be loosened and grass-free before the bed is established.
Step 2: BUILDING THE FRAME
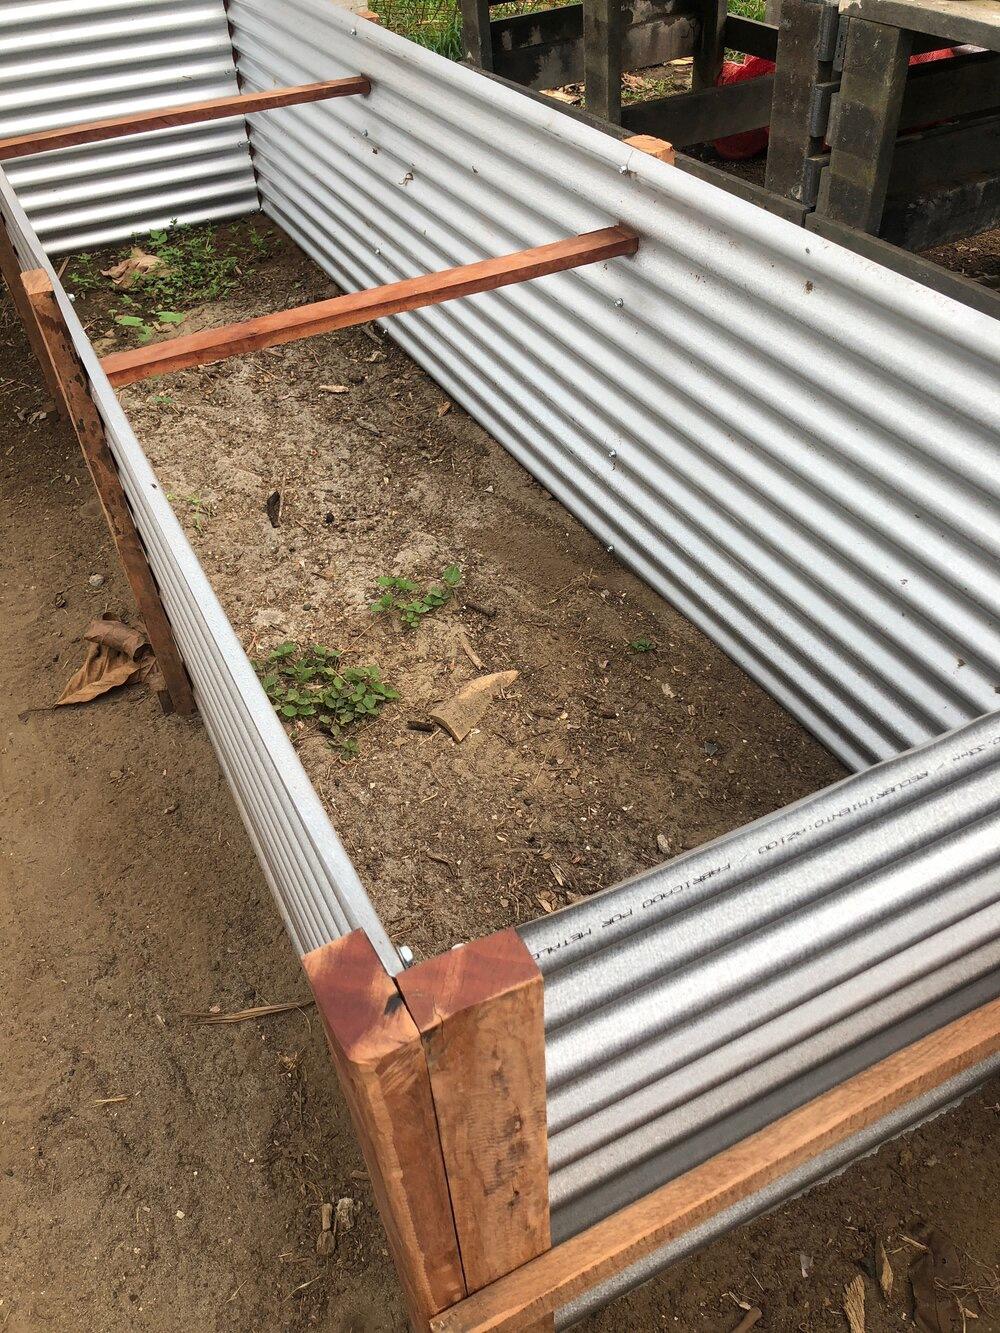
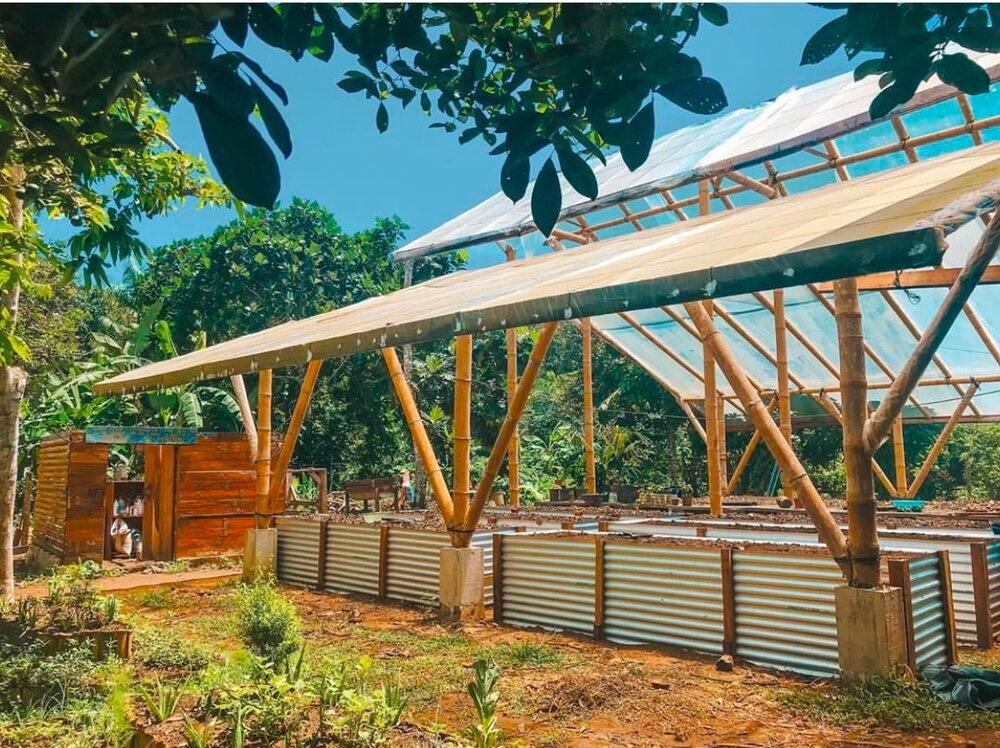
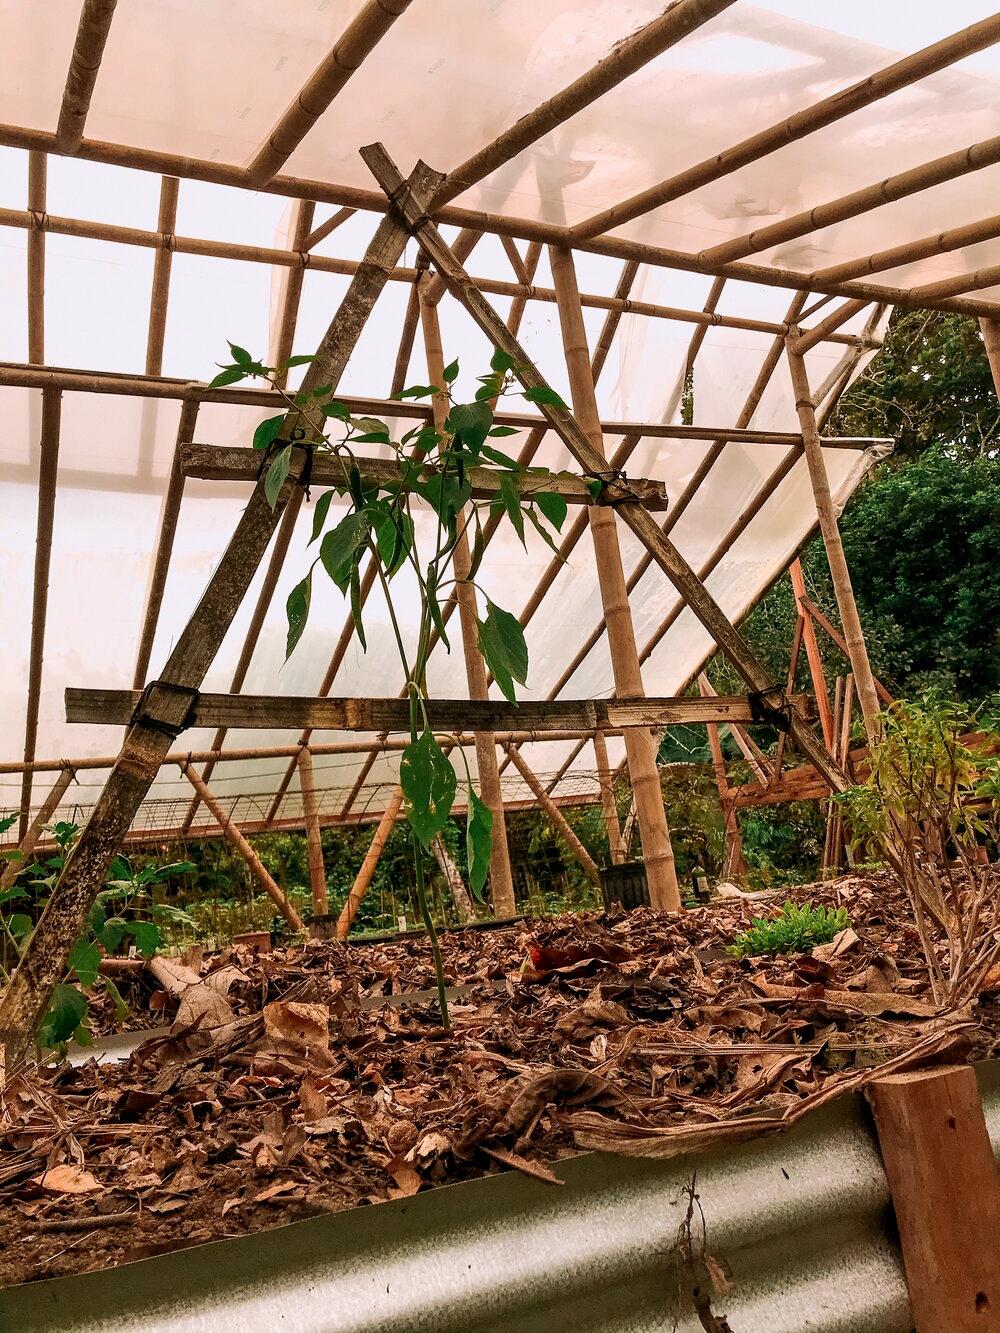
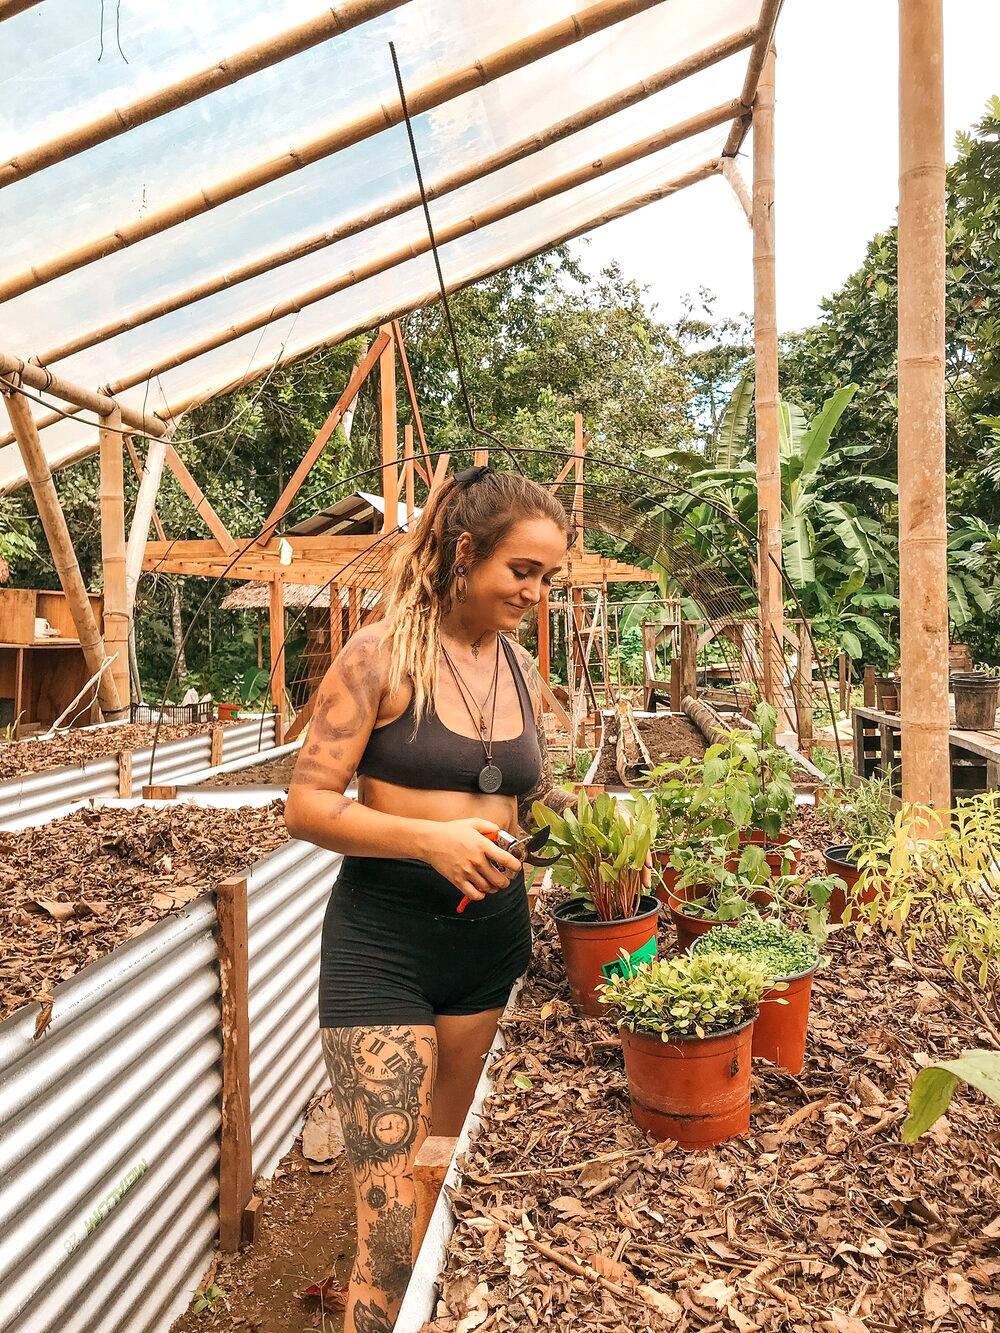
At Punta Mona, we built them from scratch at our bamboo greenhouse space.
There is a number of materials you can use to build the frame including natural wood, recycled plastic, timber, wattle, logs, even concrete blocks. Be resourceful. As long as it provides a steady container, you’ll be good to go. Here are some easy guides to building a variety of frames.


Step 3: FILL IT UP
This is the part of the process that will either make or break your bed. Unless, you know, the frame breaks then the bed will actually break. But metaphorically speaking, this part is crucial: having a nutrient-rich, nourishing, yummy compost-topsoil-organic material mix is necessary. As a basic guide, we recommend 50-60% rich, dark topsoil and 40-50% compost. You can test your soil for pH and nutrient contents. This mix will depend on your climate and the organic material readily available in your area, here’s an easy guide to soil amendments.
At Punta Mona though, nestled in the tropical climate of the Caribbean jungle *wipes sweat*, we take our layering seriously. We can think of layering beds like making a pie.
Here’s How Punta Mona Does It:
Base (Pie Crust): Coral, Rocks, Sand


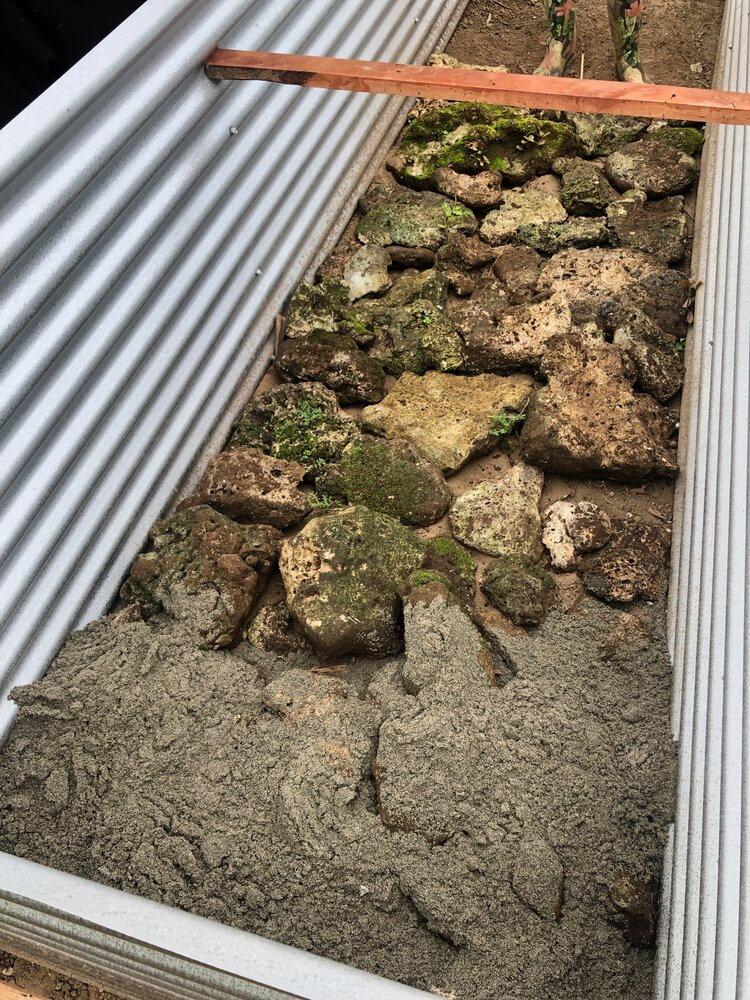
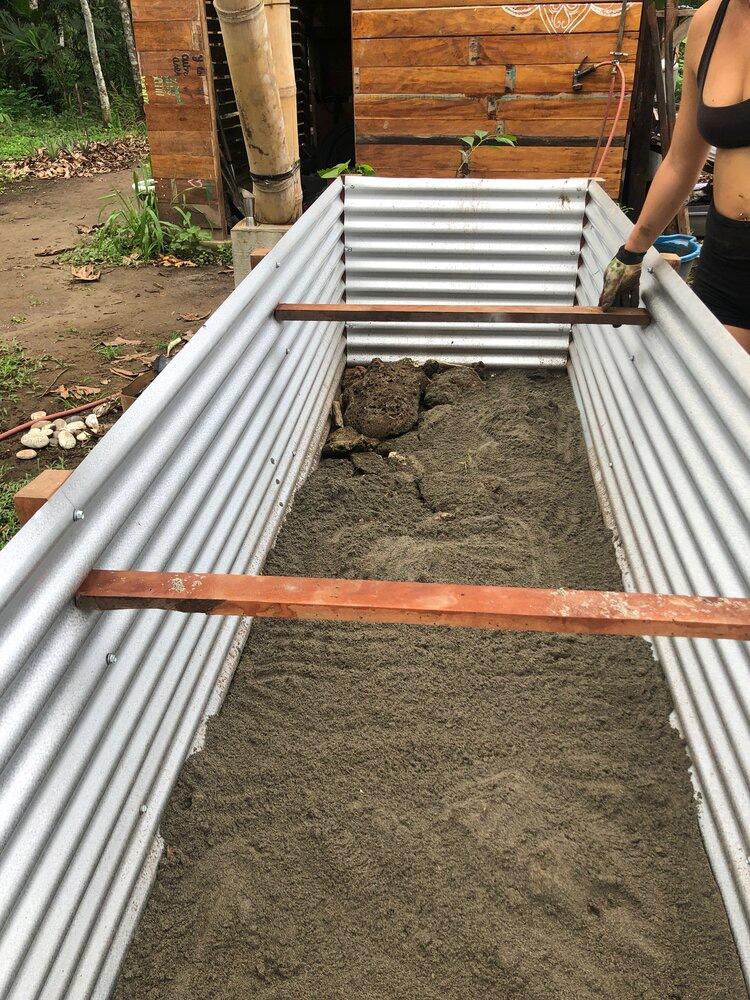


We started out with placing rocks and coral, making sure the gaps were as limited as possible to make a thick layer and topped that with sand, covering any gaps left. This method provides a well-draining base layer in order to reduce the possibility of water-logging when we water the top of the bed. This is a technique that is also often used in nursery potting plants, where gravel/ sand or any pebbly well-draining material is placed at the bottom so when the top gets watered, there is very limited chance of root rot.
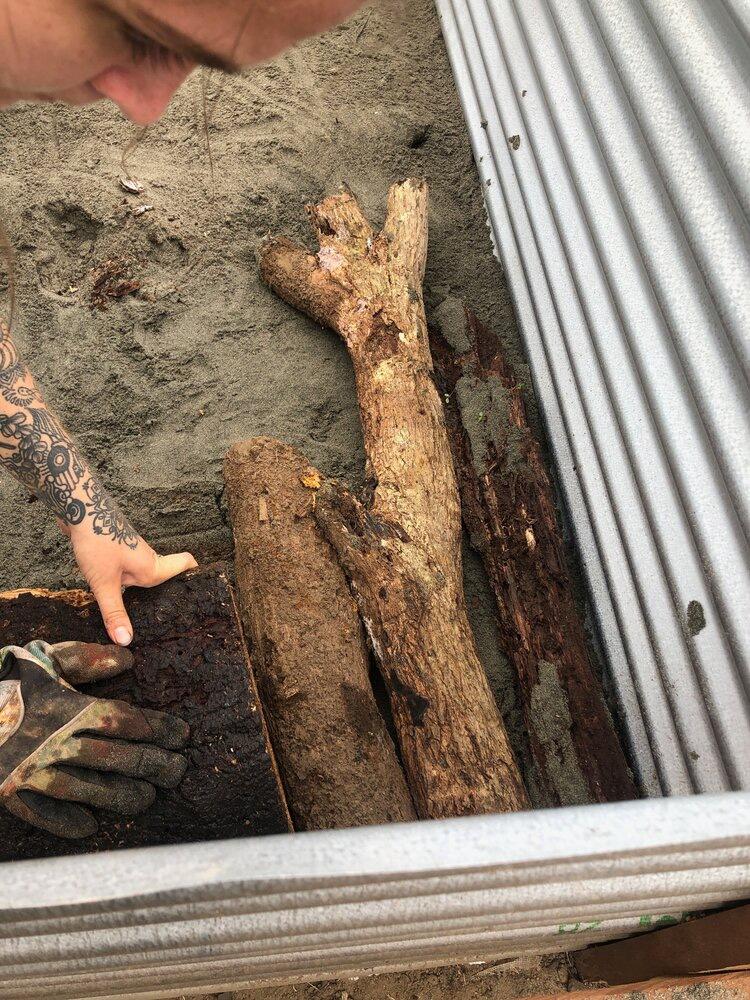
Middle Layers (Pie-Filling): Semi-Decomposed Logs and Sand
We then used semi-decomposed logs, either from the jungle or that we had laying around from various tree prunings as a source of biomass. Due to the size of our beds, filling them up with only soil would have not been tangible. You know what they say, when you don't want to use hundreds of wheelbarrows of soil- use biomass and. …what? who says that? Anyways, we needed to repurpose the biomass laying around, and used it as an opportunity to adopt the Hügelkultur technique (German pronunciation: [ˈhyːɡl̩kʊlˌtuːɐ̯]) a horticultural technique prominent in permaculture, where decaying wood debris and other compostable biomass plant materials are buried under soil in the beds to improve soil fertility, water retention, and soil warming. This is a regenerative practice as we are not adding fertilizers or amending the soil as much- the soil is building on itself, building nutrient compounds. In this layer, we filled in the gaps with topsoil from the jungle in order to reduce volume-loss and shrinking when the wood decomposes. Being in an off-the grid space at Punta Mona, we aim to use technique that can provide long-term benefits and allowing the ideal composition of soil to take time as the decomposers work on our soil and help us build the beds.
As we continue building layers upwards, the degree at which material is decomposed increases. Meaning that the bottom layers should be the least decomposed, intermittently filling gaps with sand. The next layer, should be slightly more decomposed, to then again fill the gaps with sand, and so on. By the top of the bed, the material should be almost fully decomposed as the garden vegetables and plants we would be growing would not be able to permeate through a log that hasn’t been decomposed, making humus-like material ideal for top layers in terms of efficiency and time.
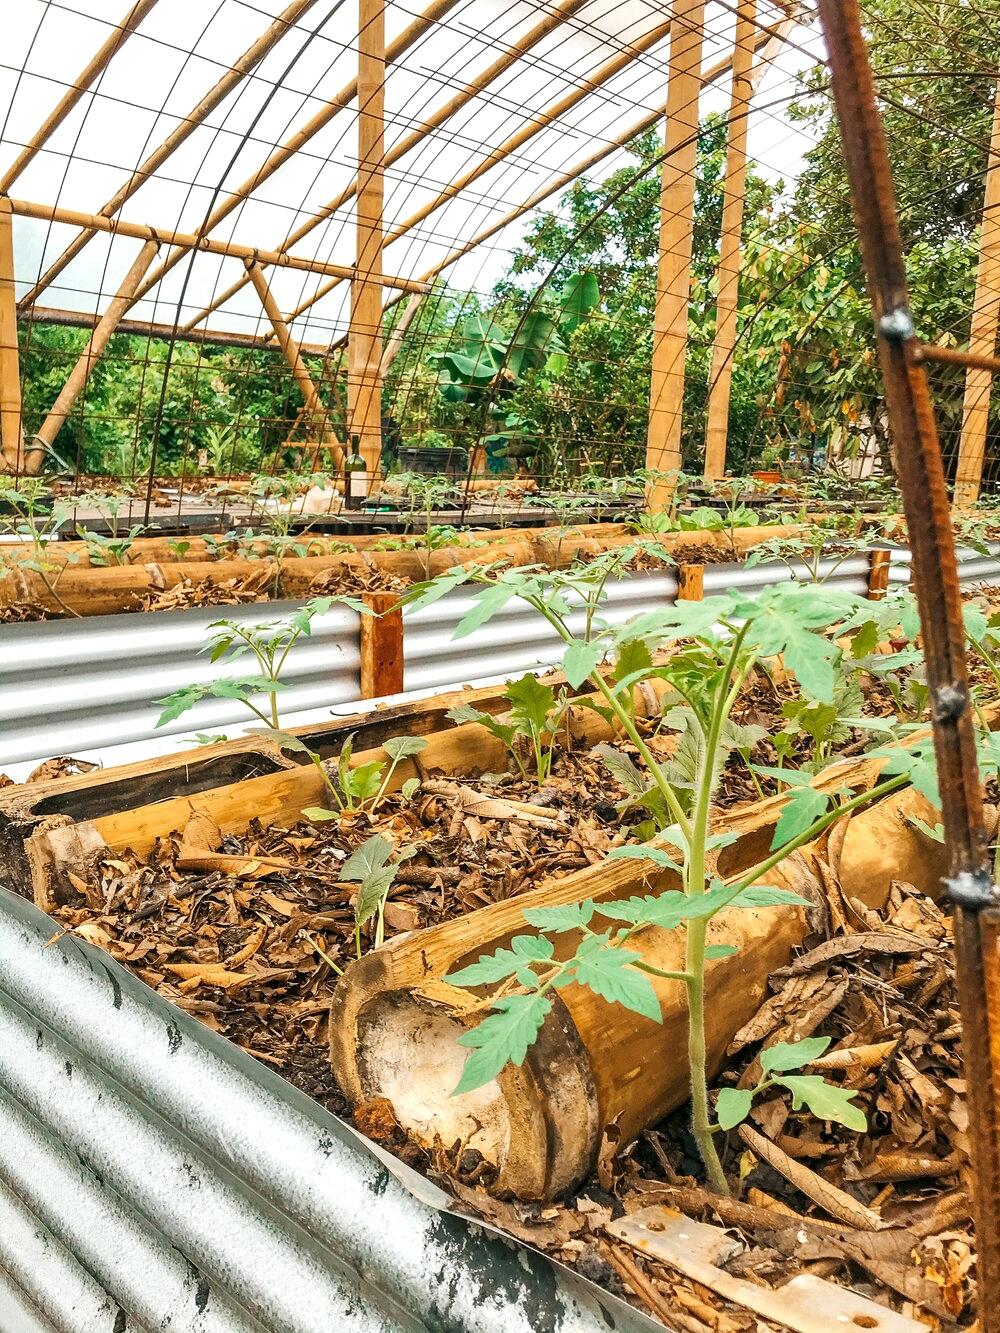
Top (Frosting): Topsoil
To finish up the layering, we used beautiful, rich, dark, nutrient-dense topsoil harvested from the jungle. The rainforest’s topsoil (biomass falling in the form of leaves, twigs, sticks etc) is incredibly nutrient-dense, so we scraped and cleared some of the area, careful not to dig as to not disturb the ecosystem, and used 5-6 of this soil to top the beds.
Extras (Sprinkles): Compost, Biochar, Warms, Leaves
Over the topsoil we placed a layer of our compost to act as fertilizer, mixed with biochar made at the farm with a sprinkle of lovely egg-laying crawling creatures… compost warms! We then used some dried leaves to retain the moisture content when the beds are watered as well as providing some nice shade for our worms and decomposers below. And with this, we finalized our Hügel-warm fusion beds.
And now that you have a raised bed, all you have to do is decide what you will plant, and enjoy your flourishing garden!

Ecoversity
Subscribe to our newsletter.
Sign up with your email address to receive news and updates.
